How to register and send webhooks from Syncd to your API or Server?

Introduction
Want to know how to send all the awesome webhook events you just registered with Syncd to your API or server? You've come to the right place. In this blog post, we will learn how to send and register your Syncd webhooks to your API or server.
Table of contents:
- Create Syncd Project
- Create a webhook
- Add your own API or server to send the webhook payload to
- Seeing what events you should subscribe to
- Conclusion
You will need a Syncd.dev account to complete this tutorial. If you don't have one, you can sign up for free here.
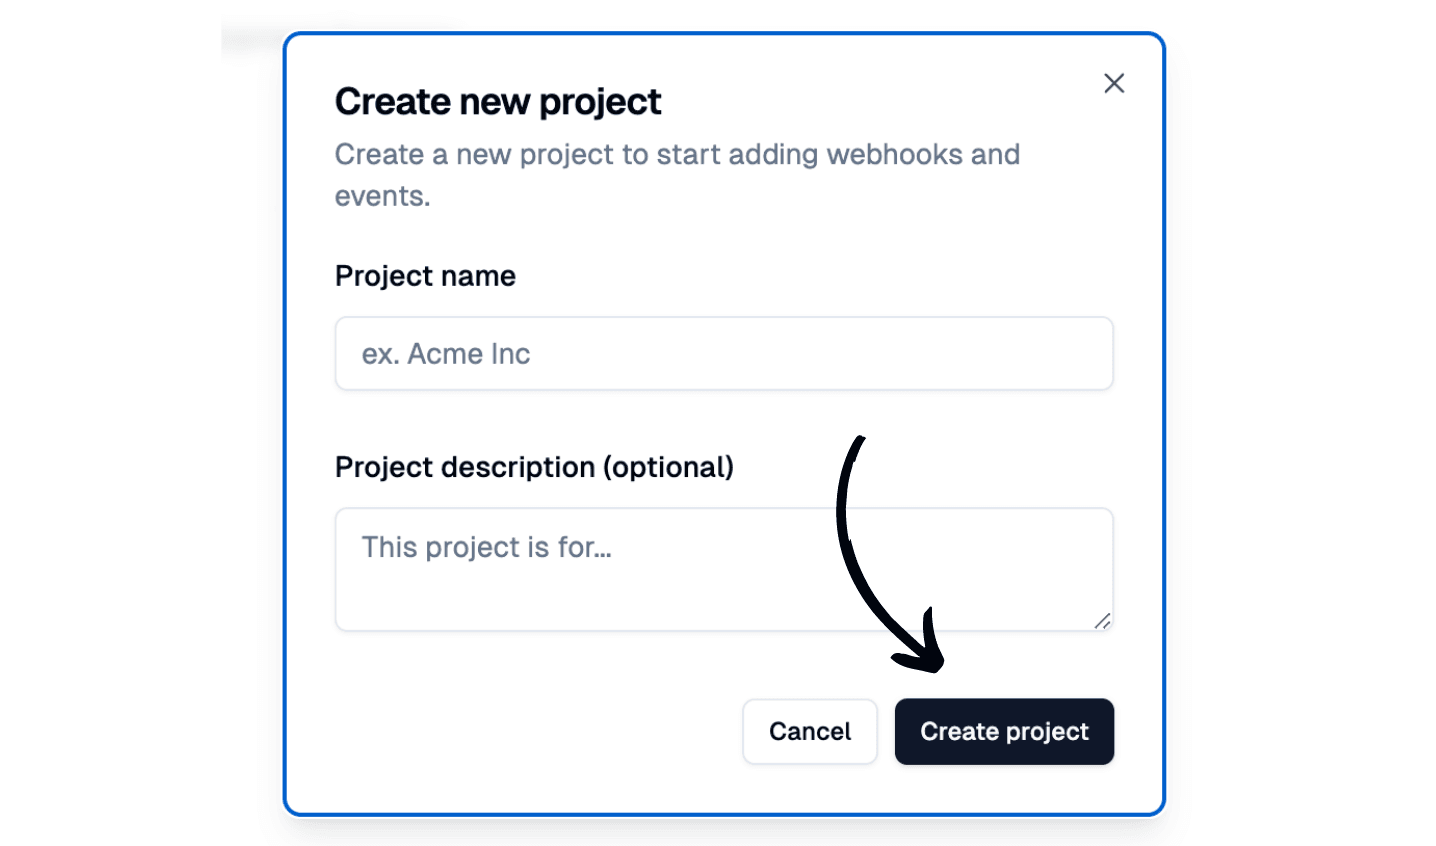
1. Create a Syncd Project
Visit Syncd's project dashboard here and create a new project.
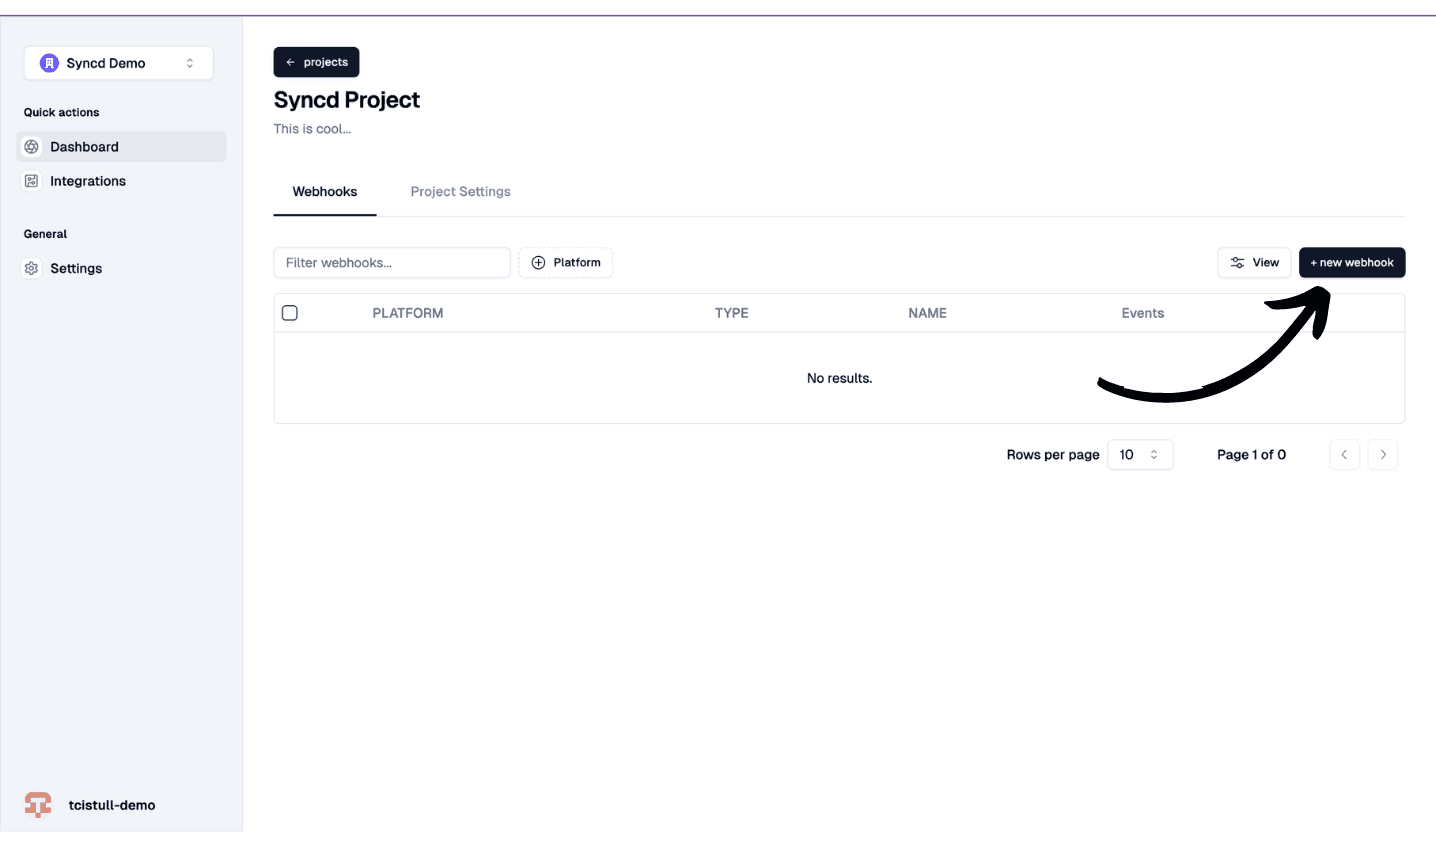
2. Create a new webhook
To be able to send webhooks to your API or server, you will need to create a new webhook. You can do this by clicking the "+ new webhook" button on the project dashboard.
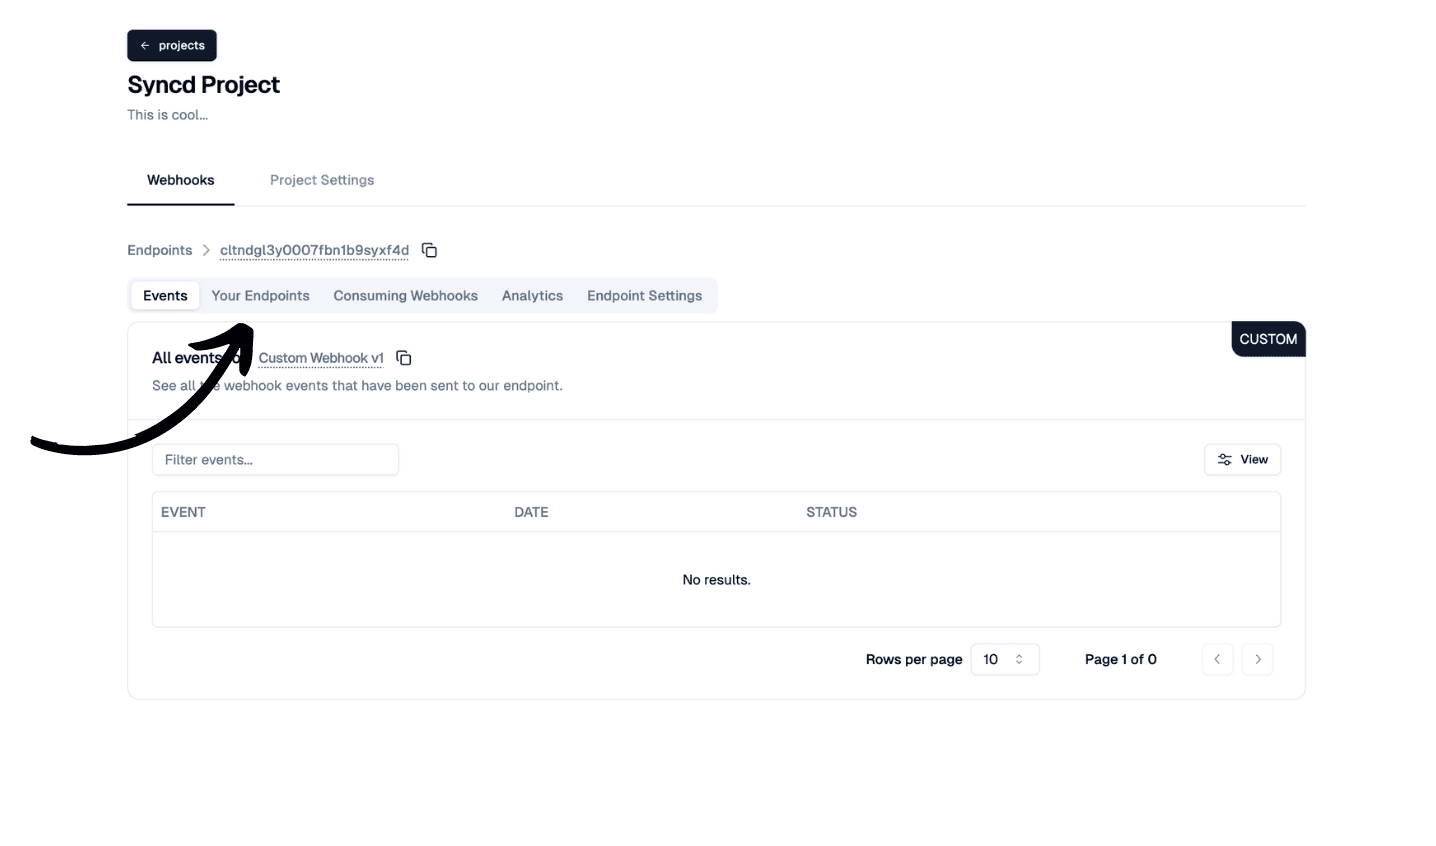
3. Click the "Your Endpoints" tab
Once you are inside of the webhook, you will need to click the "Your Endpoints" tab. This is where you will be able to add your API or server to send the webhook payload to.
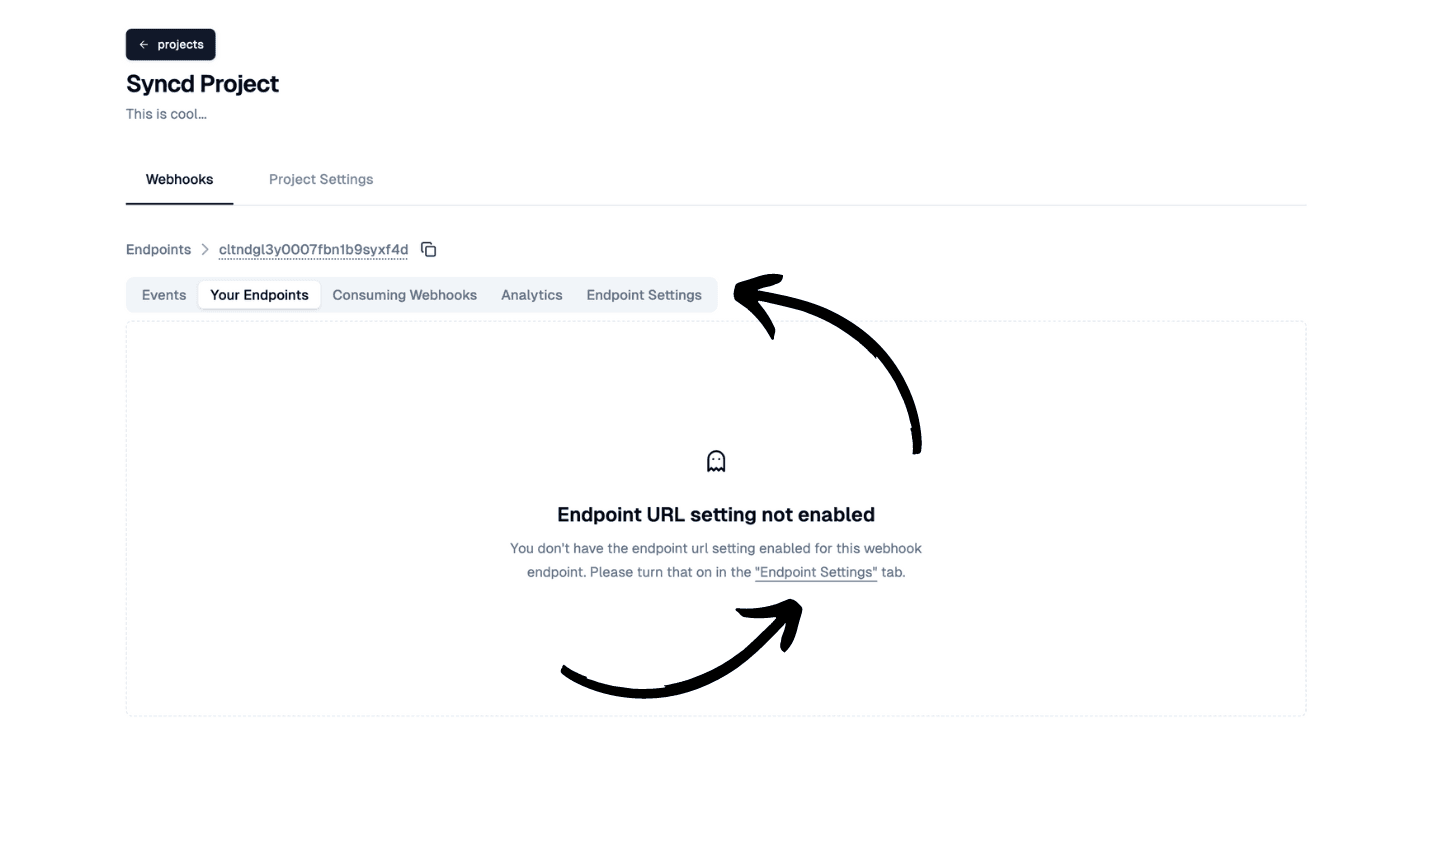
4. You will see one of two things
One option: Endpoint URL setting not enabled
To fix this, you will need to enable the "Endpoint URL" setting. This is where you will be able to add your API or server to send the webhook payload to.
Click the "Endpoint URL" tab
Click the "Endpoint URL" tab and turn on the Enable Endpoint URL's.
Click Save
The save button should be right under the toggle you just turned on. Click save.
Head back to the "Your Endpoints" tab
If you did everything correctly, you should now see the "Endpoint URL" setting.
Option 2: You will see the "+ Add Endpoint" button
If you see this screen, you are ready to add your API or server to send the webhook payload to. Follow the next step.
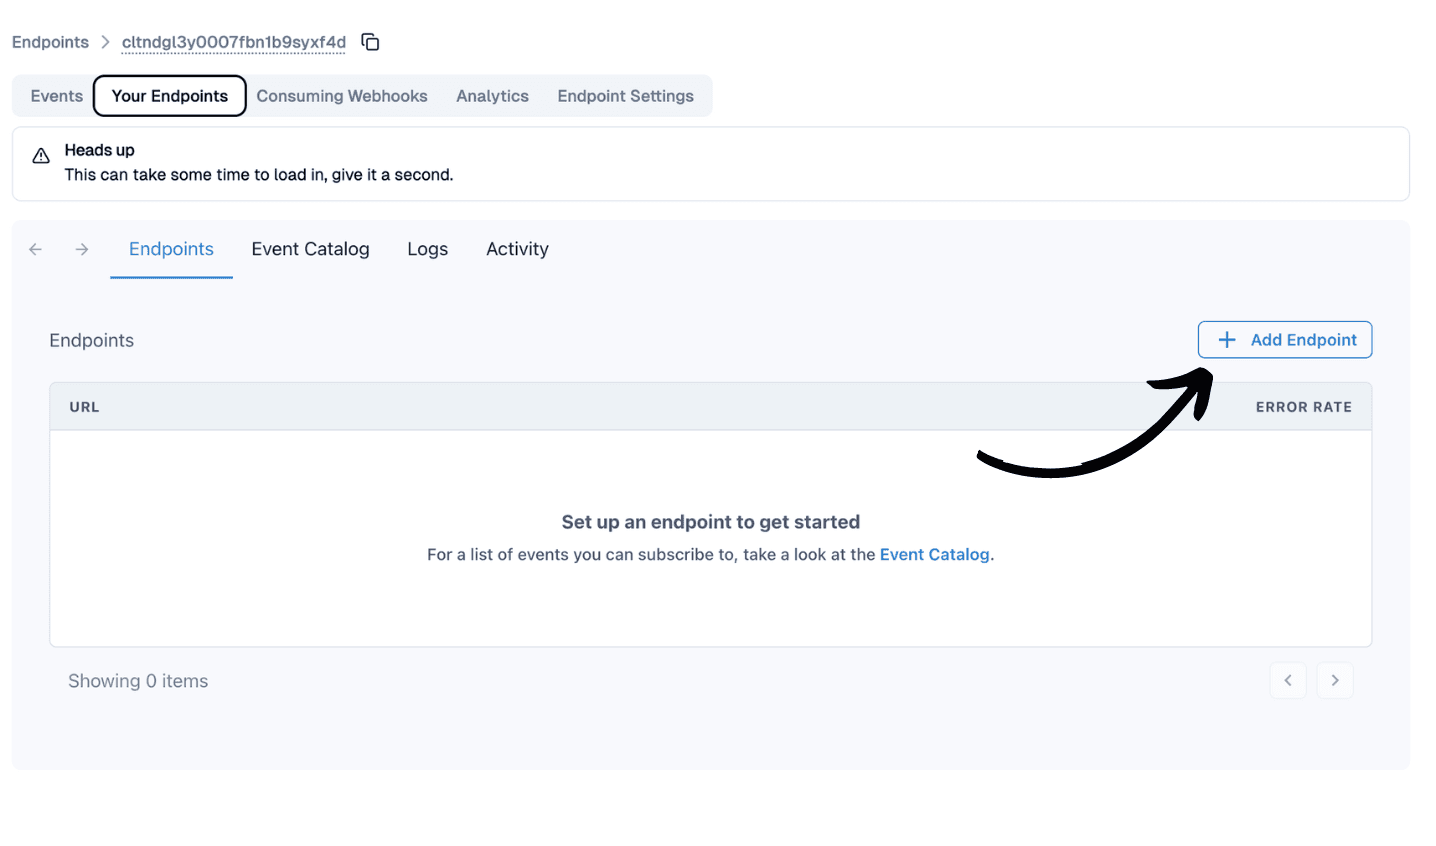
5. Click the "+ Add Endpoint" button
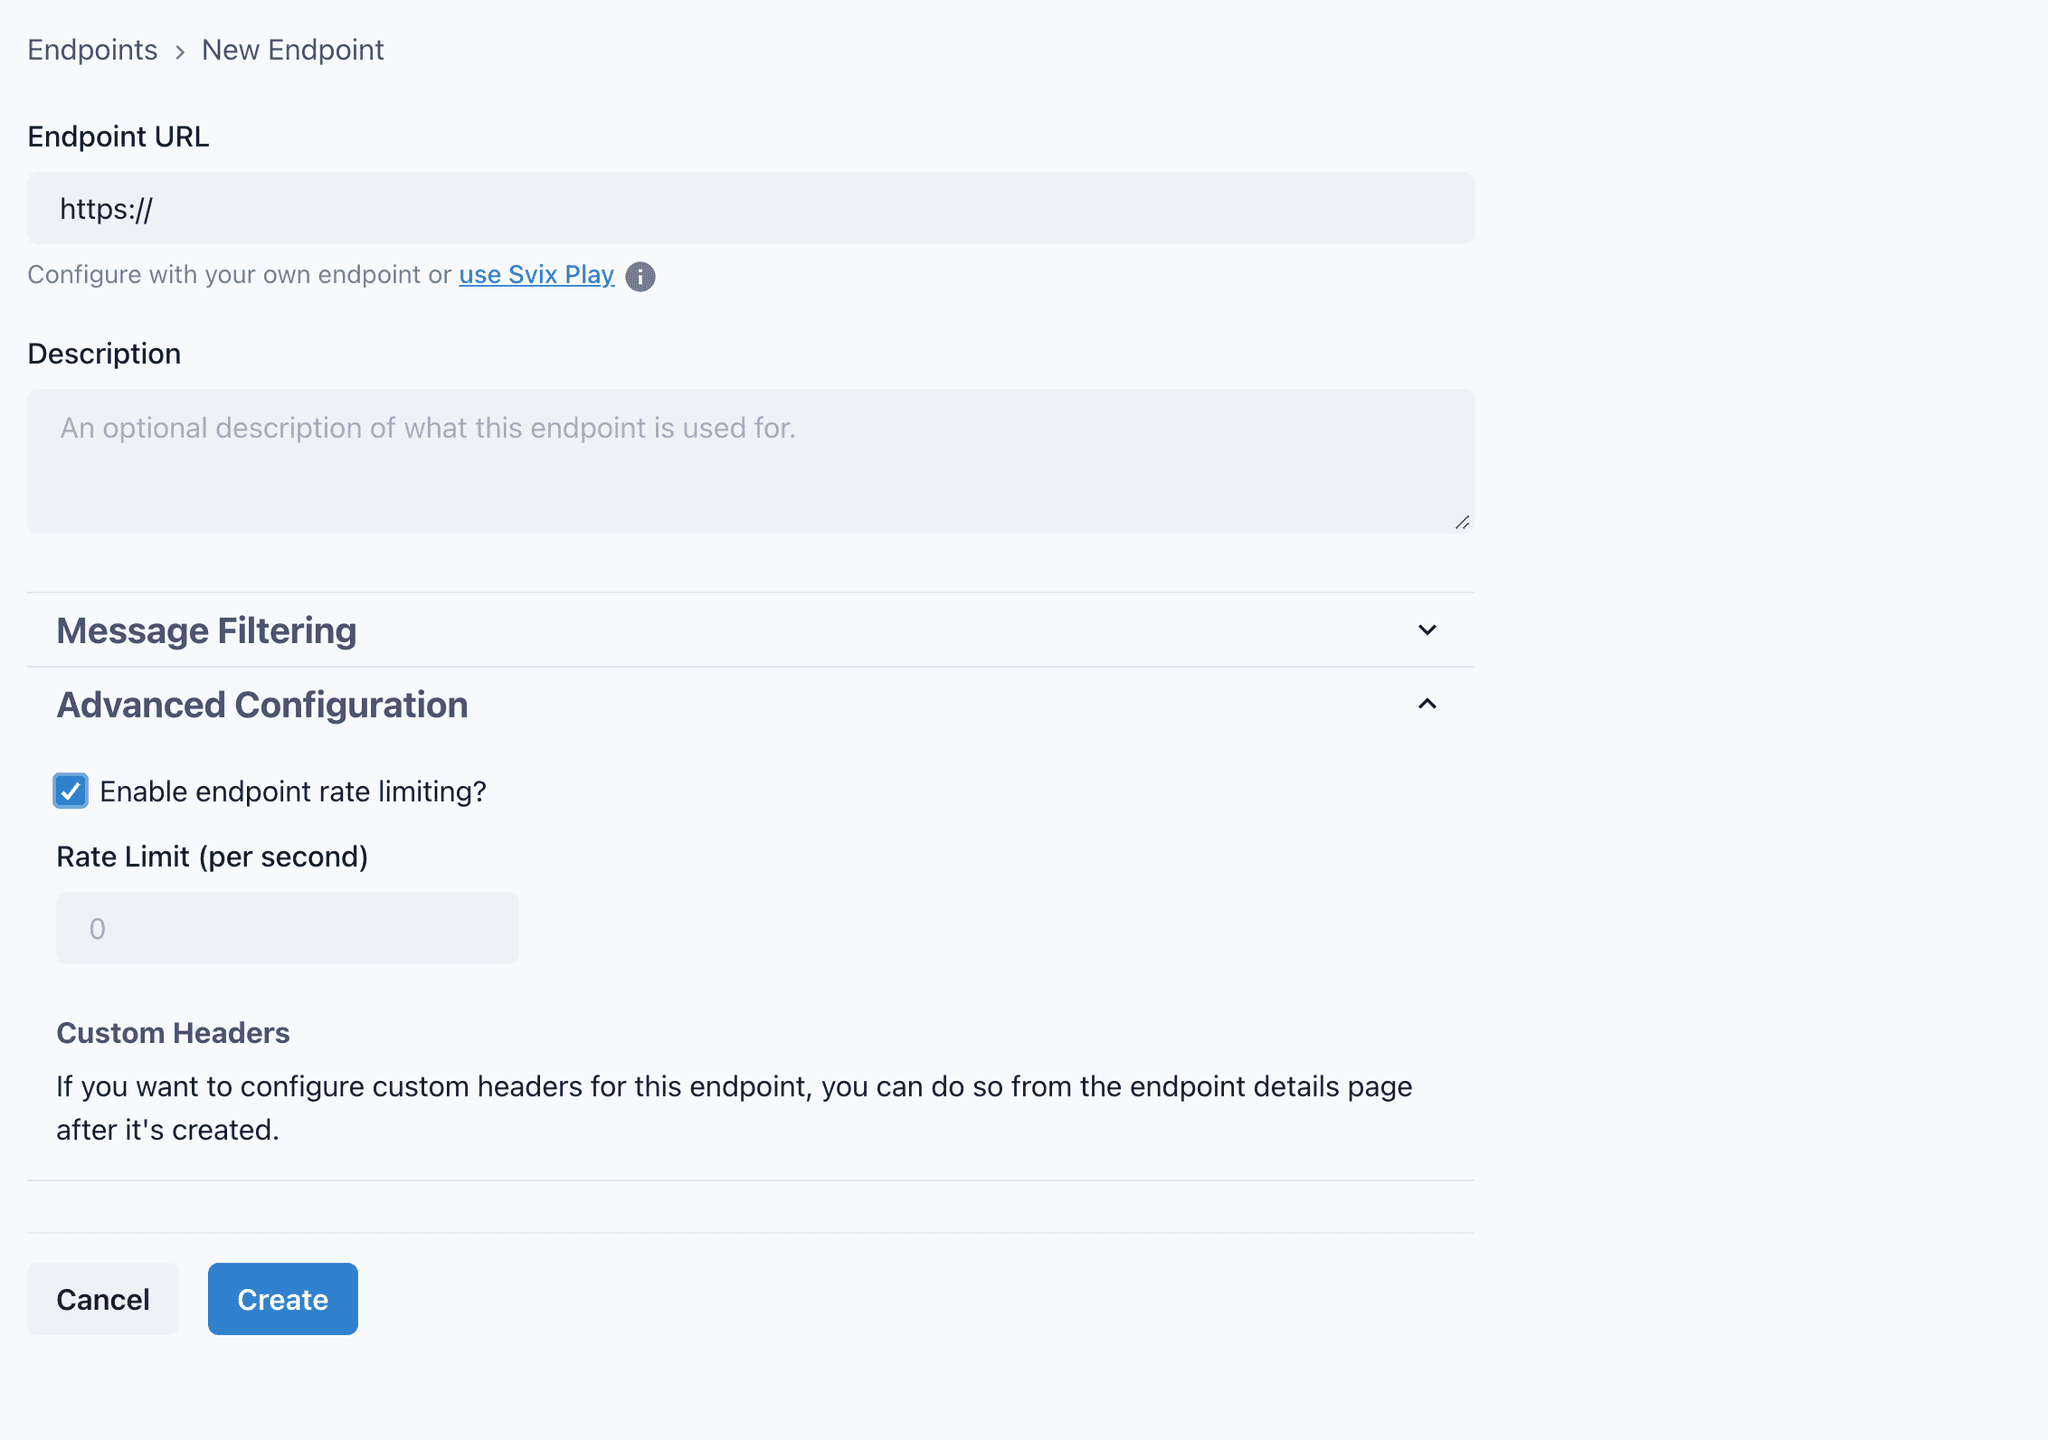
Once you click the "+ Add Endpoint" button, fill out the form with your API or server's information (it's public URL). You can add rate limiting here as well in the "Advanced" section.
Subscribe to the events you want to recieve from Syncd. The events should match the events you are subscribed to in your Syncd webhook. For example, if you are subscribed to the "file_created" event in your Figma webhook you created in Syncd, you will need to subscribe to the "file.file_created" event in this step.
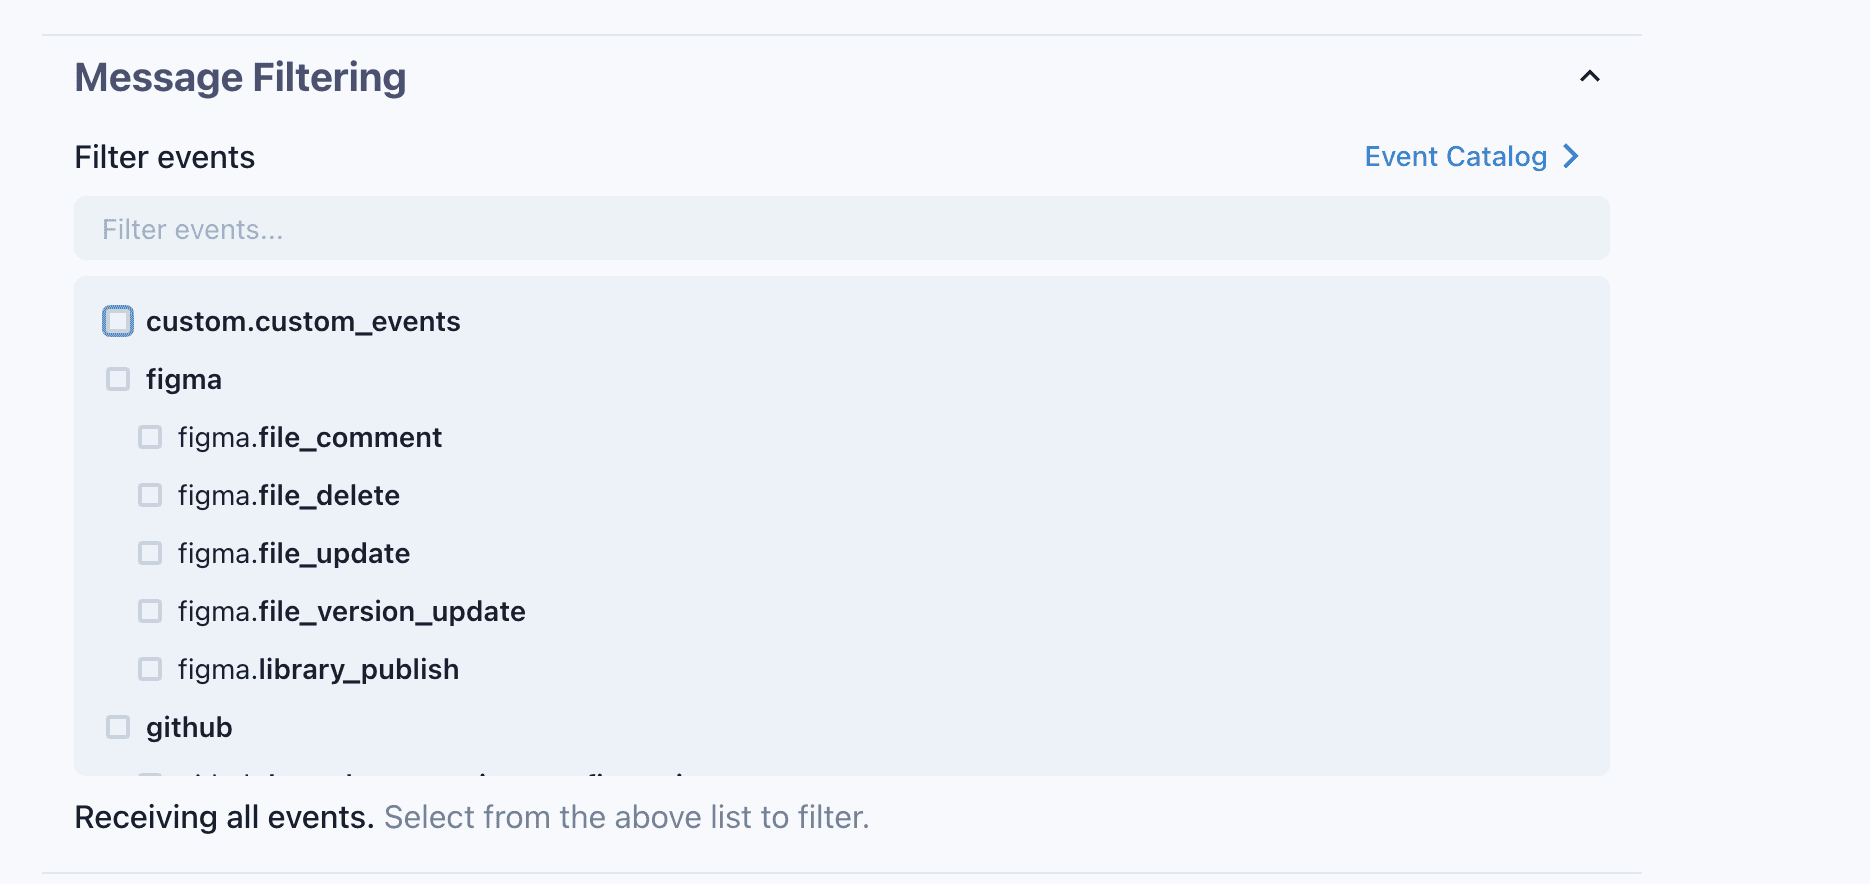
If you are using our "Custom" webhook, you will need to subscribe to only the "custom.custom_events" event. This is the event that will be sent to your API or server.
5. Conclusion
That's it! You have successfully registered and sent your Syncd webhooks to your API or server. You can now start receiving the events you subscribed to in your API or server. Get visibilty into your webhooks and start debugging them with Syncd.dev.
To learn more about Syncd.dev and its integration capabilities, visit our website at www.syncd.dev.